[2019-09-30]
I had just arrived at Narita International Airport after a long flight and I couldn’t stand the urge to get to Tokyo immediately, but there were 3 important things that I had to get done before leaving, and if you’re going on a trip, you should consider them too:
1.Pick up 2 prepaid SIM cards I had bought online (each one for 30 days); you’d expect to find Wi-Fi everywhere nowadays, but trust me, that’s not an easy task, especially outside of big cities. And those two little cards helped me in an unthinkable way, no matter if I were on a mountain, a beach, in the middle of nowhere, I always had good signal to find my way on Google Maps and to keep in touch with my people.
I cannot recommend it more; you can buy them online and arrange a date and place for pick up. (I’ll put more info at the end of this post go now).
2.Exchange all my cash; again, this may sound weird, and you could think that in the airport you’ll find the worst rates, but after some extensive research I concluded that in Japan is totally the opposite; however, you should check the current rates on Google before doing it. Also, there are ATMs in almost every Konbini (Convenience Store), but that would mean extra fees.
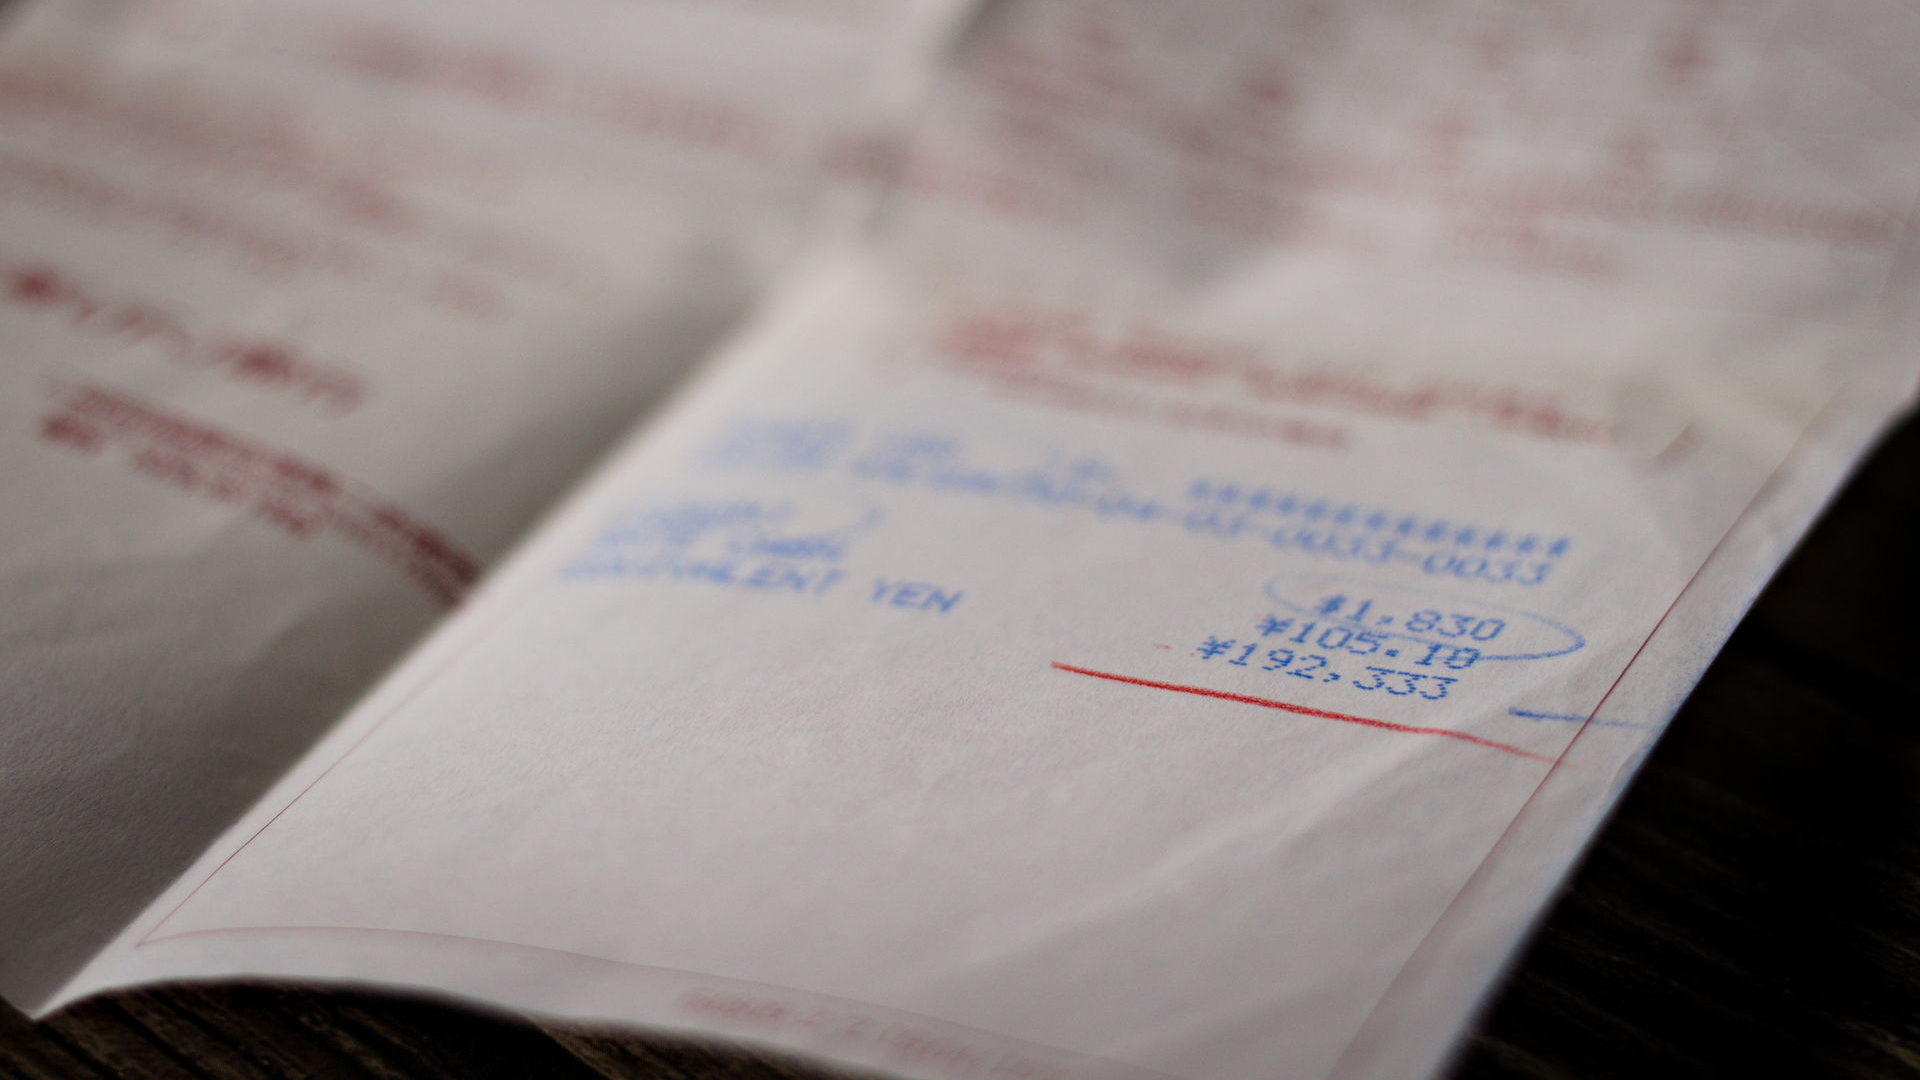
The best option for me was to have just cash. Nowadays (2021), due to the Olympics and the pandemic, you may find more cashless places, but don’t rely on that if you plan to visit the countryside and small towns. So, I ended up with 192,333 Japanese yen (US$1,830) for the next 2 months; an amount that seems limited, but to show how travel in Japan with a limited budget is one of the goals of this blog.
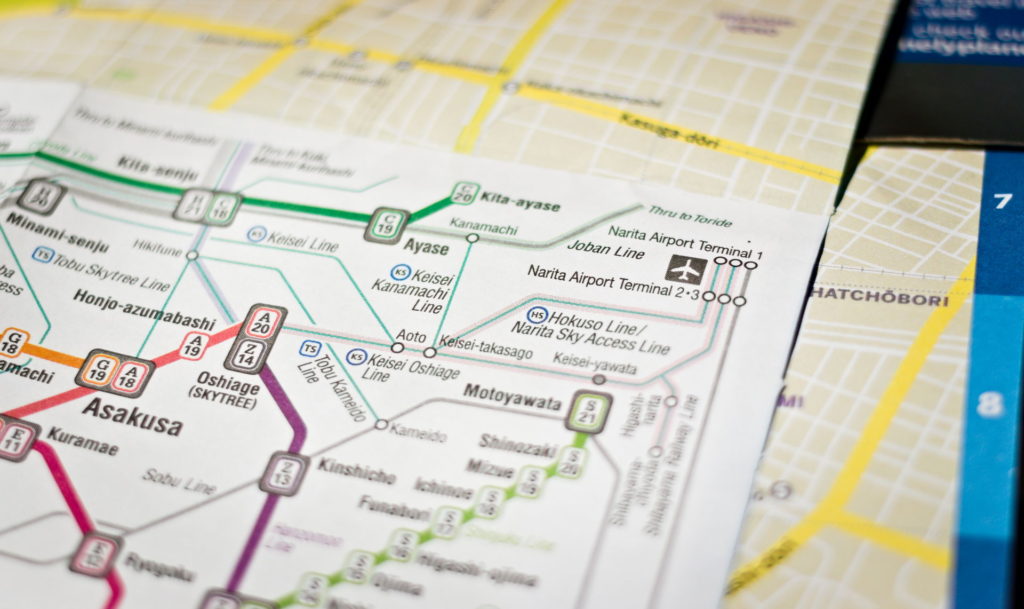
3.And last, the transport; I had to leave the airport and somehow get to Tokyo, but I was full of confusion; I didn’t know if I should take the bus or the train, nor how to take any of them; I betted for the train, knowing that I had a Suica (prepaid card for the train) borrowed from a friend.
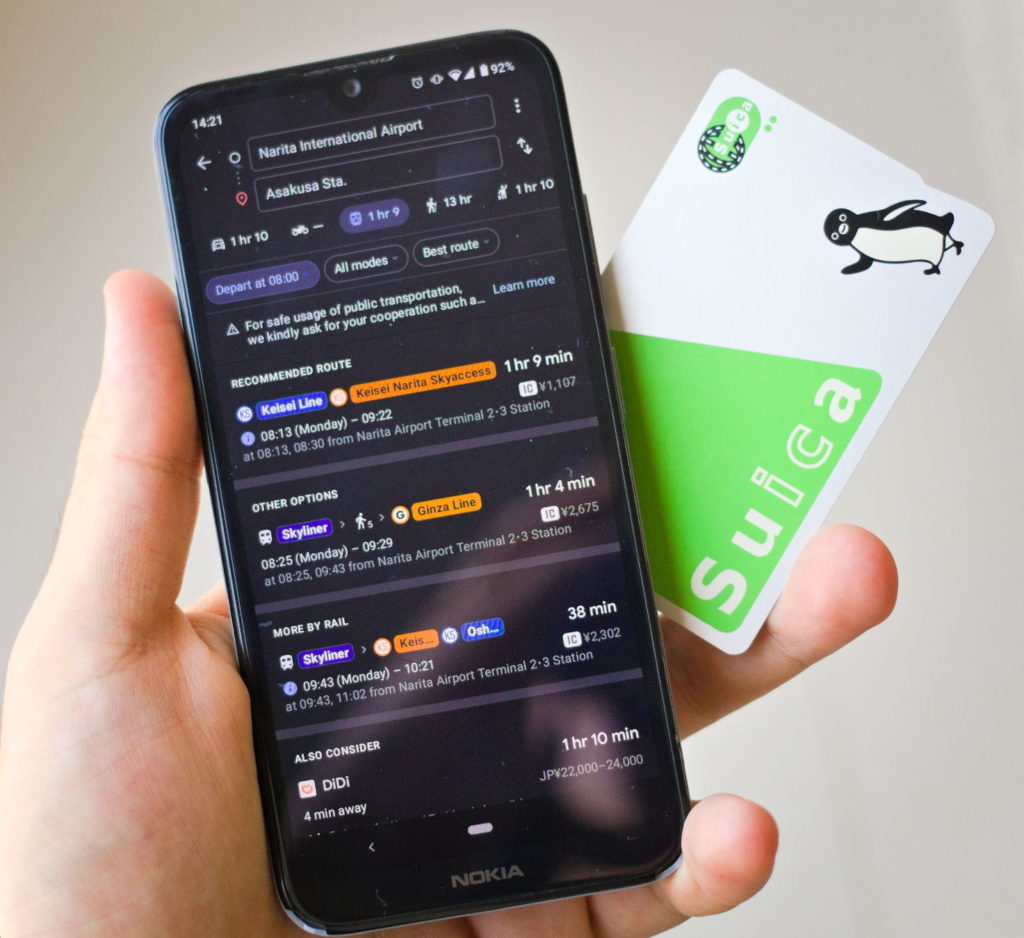
And I discovered that, no matter what your plans are, it’s always handy to have any of the prepaid IC Cards on you. They also can be used at many establishments, every Konbini, vending machines, and on some occasions, you’ll be charged less on train fares.
At the ticket machines at any station, you could buy them for ¥500 (US$5) and also return them to get that money back at the end of your trip. Those machines are multilingual and easy to understand so don’t worry.
So, after checking for the train (“NRT to Asakusa Station”) in Google and adding enough money to the card for its cost, I waited for 40 minutes on a platform where that train never showed up, despite a sign I saw on the floor.
Apparently, I made a wrong turn following a color line and also I didn’t pay enough attention to the platform number (on Google) and ended up on a different one.
Well, do not assume you won’t need help, especially if there is a lot of it available; if you are not 100% sure of what you are doing, it’s always better to confirm with someone and don’t waste time.
On the train to Tokyo all travelers were fast asleep, while I rejoiced with every kilometer, even if most of the way were the vast empty fields of Narita; occasionally a train station, a tunnel, a bridge… I was simply happy seeing all of that for the first time.
This is the website where I ordered the SIM cards, and they also have pocket Wi-Fi; I preferred the SIM cards just to not have another device in need of recharging, but the Wi-Fi is great if you are not alone so you can have multiple devices connected.
As of July 2021, they are offering a 40% percent off; but if that promo is over, you can try this coupon code JWWMWINTER for a ¥1,000 discount.
Don‘t hesitate to ask any questions in the comments below.
Leave a Reply